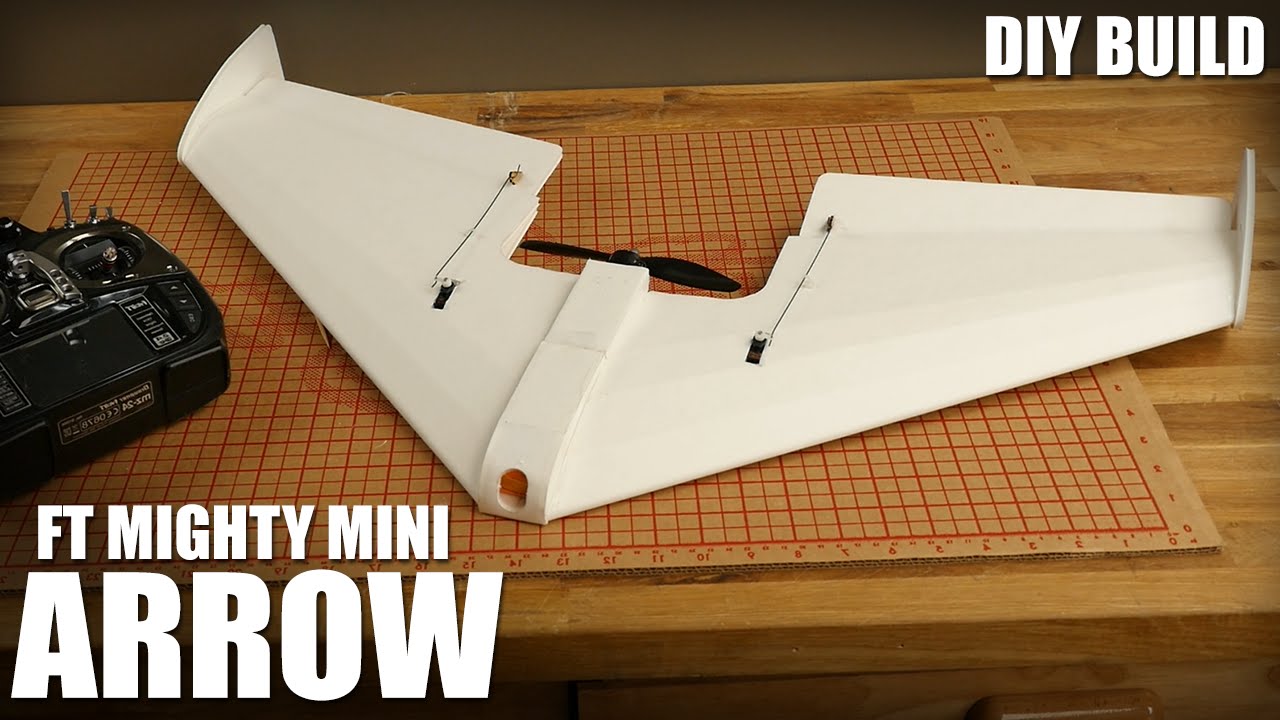
Build notes for the FT Mighty Mini Arrow
These notes are a condensed version of the FT Arrow build video.
Wings
- Do an “A” fold on the spars and glue, stop 15mm from each edge. Use a triangle to make sure the spar folds are perpendicular.
- Open the servo hole.
- Cut the bevels, double on wing and single on elevon (on the elevon side).
- Add a thin ribbon on glue on the bottom of the elevon hinge for strength, and scrape almost all of it off.
- Remove servo pocket from the wing.
- Fold the wing with the bottom on top, to curve the leading edge without crinkling the airfoil score cuts.
- Cut the side pods if you aren’t going to use a center pod.
- Glue the side pod hinges.
- Cut the main pod space on the top of the wing.
- Skewer the wing score cuts.
- Line up the spar’s servo hole onto the wing and glue onto the top side.
- Glue the airfoil’s score cuts and fold the wing so the score cuts are glued up.
- Cut the excess spar.
- Probably put the servos in now, to avoid having to make a hook later.
- Glue the leading edge, bottoms of the spar, and the end of the trailing edge, and press closed.
Joining the wings
- Tape the wings together at the bottom, glue them together in the middle, lay them down and wipe the excess glue.
- Cut the excess edge of the nose.
Center pod
- Pop out the foam tabs on the wings, where the center pod will go.
- Pop out the tabs on the center pod.
- Do an “A” fold on the bottom plate.
- Fold the little edge of the top of the center pod over (and/or add tape).
- Glue the center pod on. The backs of the wing should both be at the same height. Note that still be open/exposed, not glued down. FT leave them like that, but I like to close them up with some tape at the end so junk doesn’t get into the wing.
- Install the control horns and servos (I use epoxy for the control horns as they tend to get ripped out with just hot glue).
- Use the reflex checker foam to calibrate the wing’s reflex.
- Add a ziptie to the control rod so it doesn’t bend.
Power pod
- Install the motor onto the power pod and install the power pod. You probably don’t need to glue this, just make sure it’s tight.
- Remove the foam from the sides of the nose.
- Do a “C” fold on the back bit (and probably add some tape).
- Carefully bend the nose.
- Test fit it and glue the front part.
- Use more tape to secure the front and sides.
- Add some tape so you can pull the top open.
- Add some glue to the bottom of the top hatch so it catches and secures on close.
Winglets
- Only cut the top part of the wing, parallel to the bottom.
- Line up the reference line on the winglets and glue (the front tip of the winglet should be flush with the leading edge).
Electronics
- The rest is left as an exercise to the reader.
Last updated on November 27, 2020. For any questions/feedback, email me at hi@stavros.io.